Hello everyone! Today, I’m excited to share with you a super simple and delicious recipe using just potatoes and some spices. It’s perfect for those days when your pantry is running low. Let’s get started!
Ingredients:
• Potatoes : 1/2 kg
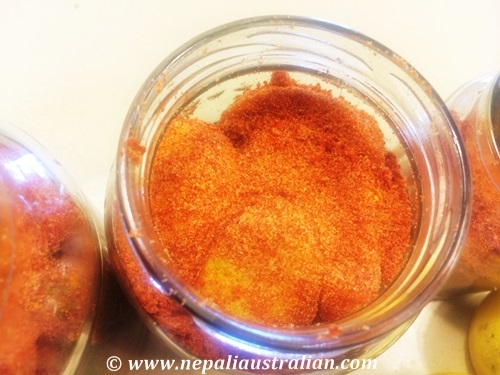
• Turmeric powder : 1/2 teaspoon
• Chili powder : 1 teaspoon
• Cumin seeds : 1/2 teaspoon
• Chili flakes : 1 teaspoon
• Oil : 2 teaspoons
• Water : as required
First, we’ll start by boiling the potatoes. I like to use a pressure cooker for this, but you can use any method you prefer. Make sure the potatoes are not overcooked.
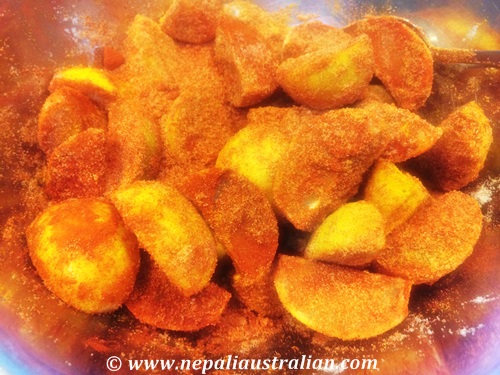
Once the potatoes are boiled, peel and cut them into bite-sized pieces. Now, let’s make a spice paste. In a bowl, add some turmeric powder and chili powder. Add a little water and mix well to form a paste. Set this aside.
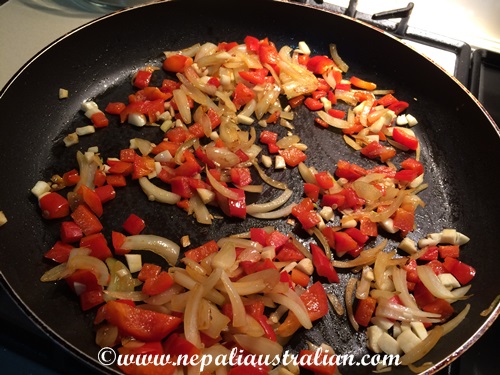
Next, take a pan and heat some oil. When the oil is hot, add some cumin seeds and chili flakes. Wait until they turn brown.
Now, add the spice paste we made earlier and fry for a few minutes.
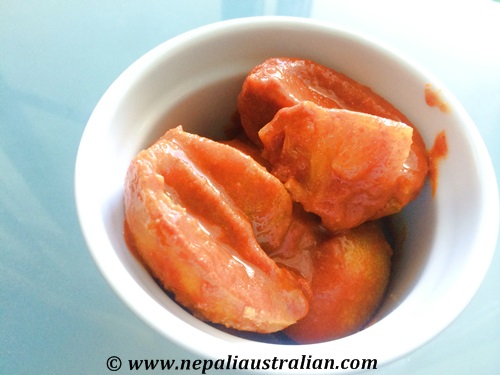
Add the boiled potatoes and mix everything well. Cover the pan and let it cook for a few minutes so all the spices blend perfectly.
And there you have it! Our delicious Piro Jeera Aloo is ready. Enjoy it with rice, Chiura (beaten rice), or roti.
Thank you for joining me today. I hope you try this recipe and love it as much as I do. Don’t forget to like, share, and subscribe for more delicious recipes. See you next time
M from Nepaliaustralian
XOXO
Please follow me on Instagram! and Please follow me on TikTok